
My 3D-printed aerobridge for my gravel bike
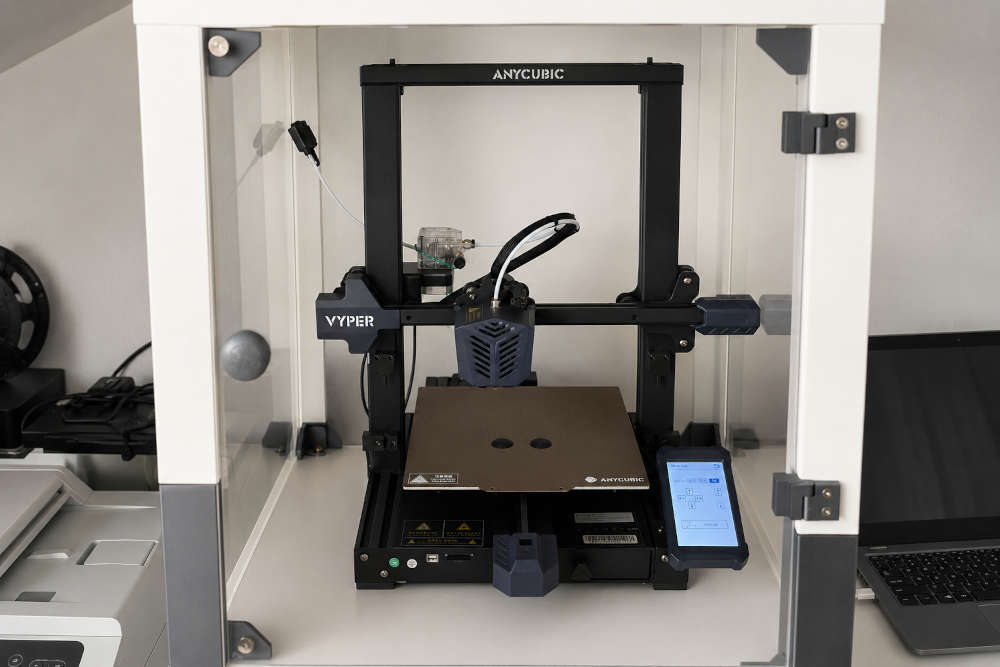
This article is about one of my first original 3D designs, which I printed myself and which is still in use today in a modified form. You can find more information about my 3D printer and the software I used for modeling here.
For my bike trip across Germany, I wanted to try out an additional grip position on the long daily stages. That’s why I equipped my Cube Nuroad Pro FE with a triathlon handlebar attachment. Now I still needed an aerobridge to securely mount my cell phone and its holder between or in front of the two handlebar extensions.
Since the tour was just around the corner, ordering online was no longer an option. So I spontaneously set out to design and print a suitable aerobridge myself. After all, I already had the 3D printer.
There are now three versions of it. And as is so often the case with 3D printing, it wasn’t until I put it to practical use that I realized what still needed to be improved in the original design.
Aerobridge v1
The first version consisted of a crossbar between the two trailers, secured with two cable ties. An inverted U extended forward from this crossbar. I was able to attach my phone mount to the front leg of the inverted U.
The concept worked, but the crossbar was a bit too flimsy for my liking. That’s why I developed a second version before my cross-country trip through Germany.
Aerobridge v2
Bei v2 habe ich vor allem die Querstrebe massiver ausgelegt. Die grundsätzliche Konstruktion mit dem nach vorne ragenden U blieb erhalten.
Auf meiner Deutschlanddurchquerung zeigte sich dann allerdings eine andere Schwachstelle. Durch das Gewicht von Handy und Halterung konnte das nach vorne ragende U während der Fahrt leicht wippen. Irgendwann brach es am Übergang zur Querstrebe an.
Damit war klar: Die Konstruktion musste einfacher werden.
Aerobridge v3
For v3, I therefore omitted the entire U-shape. Essentially, all that remains is the crossbar, to which the phone mount can be attached directly.
<model-viewer src=”/assets/glb/Aerobridge_v3.glb” alt=“Aerobridge v3 as a simplified crossbar” auto-rotate camera-controls></model-viewer>
I printed the Aerobridge using PLA with 30% grid infill. Mechanically, this significantly simpler design has performed well so far.
However, on my last multi-day trip to Basel, the next weak point became apparent: the material’s temperature resistance.
In the area of the cell phone mount, the Aerobridge gave way under the clamping force and became visibly constricted at that point. This made me want to tighten the mount even more, which further exacerbated the deformation.
Although PLA is very easy to print, it isn’t necessarily ideal for components subjected to constant stress in the sun. Depending on the material, it begins to soften significantly as early as approximately 50 to 60 °C and deforms under stress (Prusa Filament Material Guide).
Next Attempt: PETG
I will therefore print the next Aerobridge out of PETG.
PETG is tougher and less brittle than PLA, making it often a better choice for components subject to mechanical stress. Above all, it is more heat-resistant: Depending on the filament, its heat deflection temperature is approximately 70 to 90 °C, whereas PLA can become problematic as early as 50 to 60 °C (Prusa).
Whether PETG permanently solves the heat problem will become clear the next time I use it.
For me, the Aerobridge is a great example of what actually interests me about 3D printing: designing a concrete idea, testing it, discovering weaknesses, and improving the model step by step.



Leave a comment